Xilisoft ISO Burner Tutorial
This guide will show you how to burn ISO and other CD/DVD image files. After downloading and installing ISO Burner on your PC, you can follow the steps below to perform the burning.
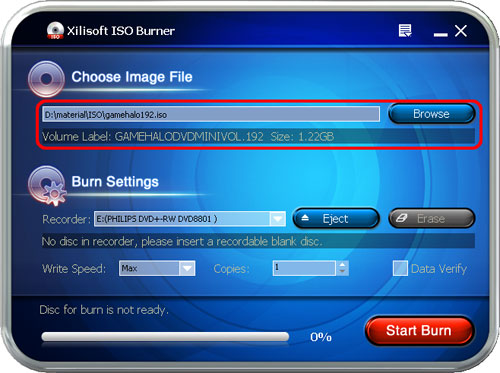
Step 1: Run the software and choose source image file
First, run Xilisoft ISO Burner. Click "Browse" button and select the ISO file you want to burn in the dialog box that appears. The software will list the volume label and file size below.
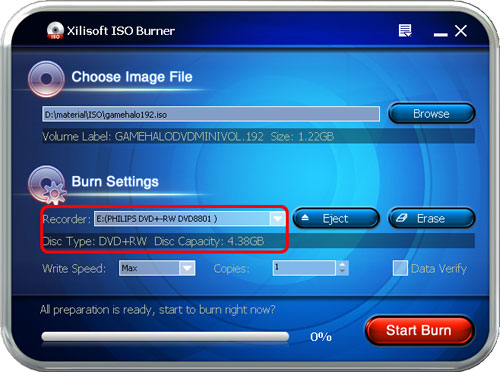
Step 2: Choose Recorder and adjust burning setting
Choose a Recorder and insert a recordable CD/DVD disc. In the info bar, the disc type and disc capacity of your inserted disc will be displayed. If the disc capacity is less than the total size of source image file, the software will remind you to change a larger disc.
Tips:
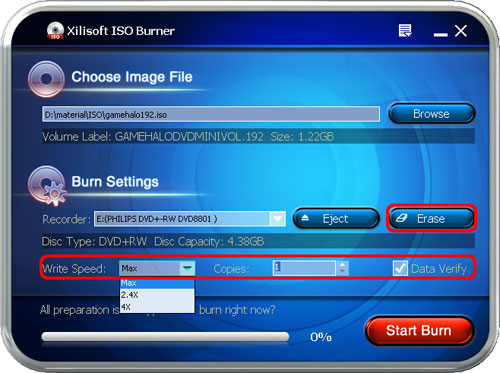
- The default write speed is the maximum speed that you recorder and disc could support. Also, you can choose a write speed in the "Write Speed" drop-down list.
- If you want to burn several copies, enter a number you want in the "Copies" box or click the up-and-down arrow to select a number.
- If you check "Data Verify", the software will verify the data of disc backup to ensure the data usability after finishing the burning.
- If the rewritable disc you insert is not blank, click "Erase" button to erase the data on the disc.
Step 3: Start burning
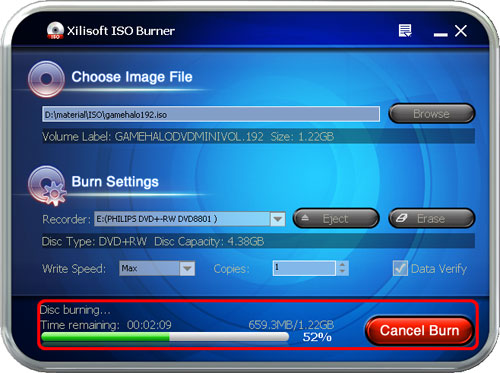
After all these finished, click "Start Burn" to start burning.
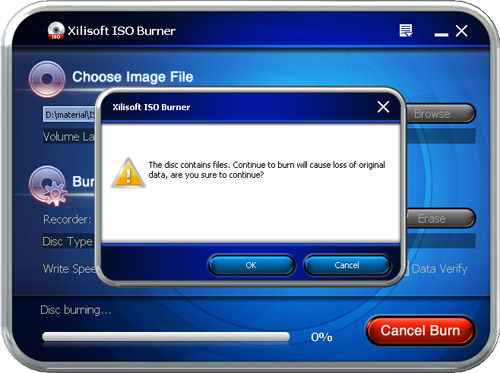
Tip: If the inserted rewritable disc has data existed and you haven't erased the data yet, the software will remind you that the inserted disc contains files after you click "Start Burn" button, and ask you whether to continue burning. Clicking "OK" will erase data first and start burning automatically after erasing.
From the status bar on the bottom, you can view the information of the burning process: time remaining, rate of progress, and so on. After burning completed, the disc will be ejected automatically.
Other Functions
1. Drag and drop to add source file
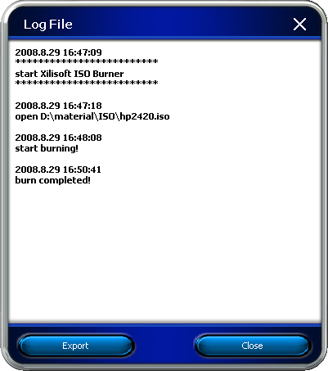
2. View the log
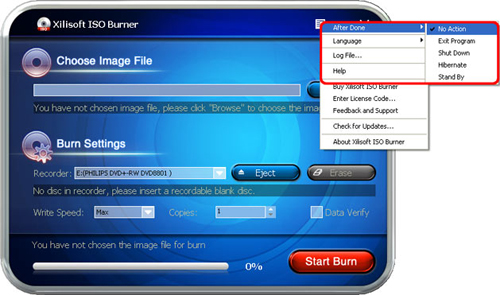
3. Set After Done action